Join us each Tuesday as we share toddler-tested and approved art activities that explore a new household material or object each week, such as a cereal box or tinfoil. Recommended books, songs, and media connected to the projects will be added throughout the week.
Cereal Boxes
Thank goodness for the staple of cereal for the toddler in your life! There’s a good chance there are plenty of empty boxes waiting in your recycling, go rescue them! Cereal boxes are the perfect art supply: sturdy and FREE! Here are 3 project ideas that start with a standard issue cereal box: spinners, clothespin puppets, and texture plates.
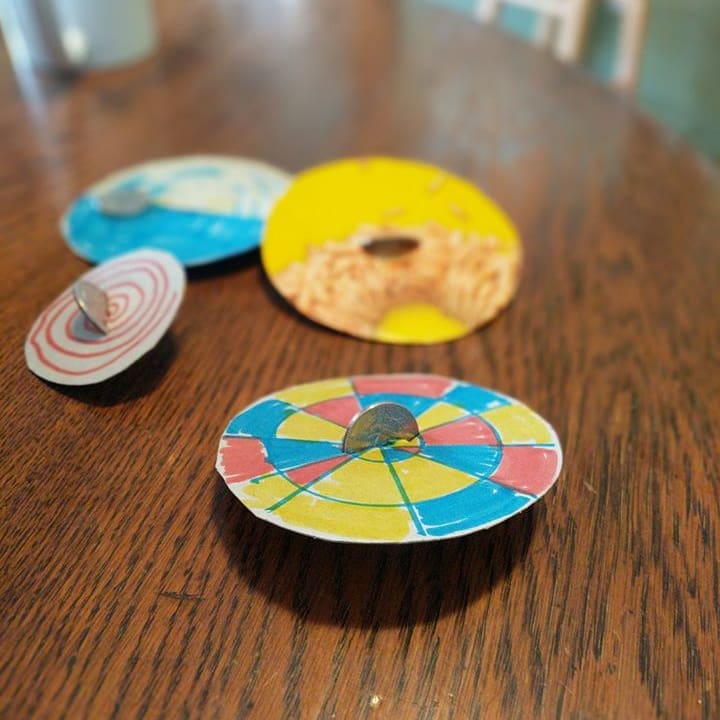
Spinners
These spinners (think tops) are a fun thing to create and explore color, engineering and fine motorskills.
Supplies:
- Circular shaped items to trace your patter (from bowls, pots, cups, lids, etc)
- Your choice: markers or crayons or paint!
- Coins (quarters are best!)
- Scissors and glue!
Por ejemplo, Filagra y Levitra tienen el mismo ingrediente activo que Sildenafil. No caigas en los productos duplicados y Cenforce (sildenafil… se fabrican en estricta conformidad con las normas internacionales de calidad.
How to:
Collect circular shapes to trace for a template. Trace the circles shapes or flattened box and cut them out (a chance to practice scissor skills, or adults can help). Decorate the paper side with markers, crayons and paint, whatever you have on hand! (Know that the creation will have to be cut in order to create the spinner). Adults can cut a small slit in the center of the circle when it’s been decorated. Carefully push a quarter into the slot (it should be snug) and you can give it a few test spins! To allow the spinners to last a little longer add a dab of glue to lock the coin in place on both sides of the spinner. (Hot glue is handy here!)
Level up:
See what patterns and colors you can use to create optical illusions when the spinning starts! Do bigger or smaller circle sizes spin better?
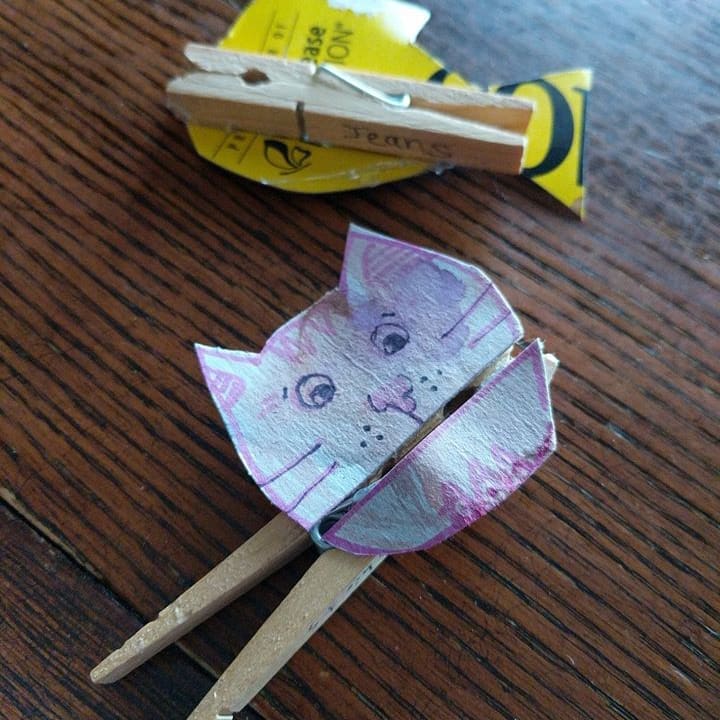
Clothespin Puppets
Perhaps you’re looking for someone new to strike up a conversation with in these times of social distancing? Add a new critter to the household that you and your little can talk with!
Supplies:
- Clothes pins
- Your choice: markers or crayons or paint!
- Glue (Elmers or hot)
How to:
Draw an animal, monster, or human face on a flattened cereal box. Color and cut in 2 pieces at the mouth. You could also use clip art or go down the pinterest rabbit hole and look for ‘printable clothespin puppets’. Glue onto clothes pins (hot glue is handy and will work best on plastic clothespins). Once they dry, animate your clothespin puppets with chatting and voice impersonations.
For giggles:
Have your puppet lip sync to your favorite song! Heck, you can even create a puppet stage out of another box for a full blown production!
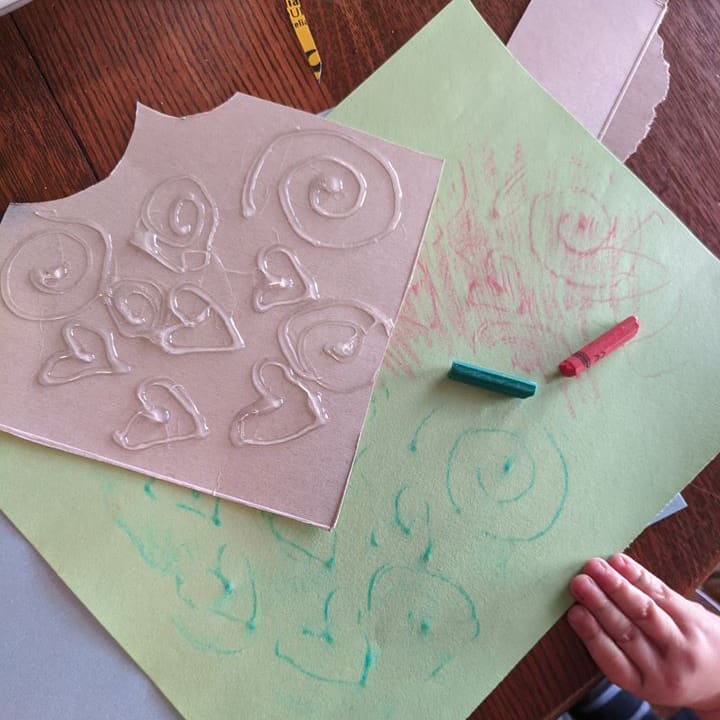
Texture/rubbing plates
Make your own texture plates to create rubbings and add pattern and texture to your crayon masterpieces! This creation takes some patience as you have to wait for the glue to dry.
How to:
Cut a flattened piece of a cereal box to the size you want and create patterns with glue lines, squiggles or shapes. Hot glue works well for more intensely raised textures. Tacky glue or Elmers glue works too! Squeezing glue builds hand dexterity and is great practice for little hands. If you want to practice precision, you could draw a pattern or shapes to trace with the glue. As glue is a fluid and drippy material, know that it’s hard to keep the application accurate. Practice applying glue from a distance for more drippy and fluid shapes. You can place the tip of the glue directly to the paper, similar to how we use a marker or crayon.
Pro tip:
Naked crayons (crayons with the paper off of them), work really great for rubbings as you have more surface area to gently rub over your texture plate.
Rock Art
Perhaps you have a collection of rocks from places you’ve visited and wanted to remember, possibly you have some in your landscaping, or perhaps you come home from walks with sticks, stones, and other ‘treasures’ from the outside world tucked in pockets! It’s hard to deny the hypnotic appeal of rocks in nature, and here are some ideas to turn them into a tactile art and sensory experience. Have fun exploring and creating together!
Supplies:
- Rocks
- Crayons/markers/paint
- Drawing paper
- Baking soda
- Corn starch
- Pan, spoon and storage
Clean ’em up!
After you hunt for rocks be sure to wash them! Sure, rocks love bubble baths! A little soap and water will remove some grime and you can also compare and contrast the difference between the dry or wet rocks.
Stack and Sort
Without adding paint or googly eyes, there are lots of creative play opportunities! Explore the art of balance, by stacking your collection! Engage your little by creating lines, shapes or letters. Plus you can always sort and categorize them by shape, sizes, and color.
Beyond visual:
A great way to explore vocabulary! Discuss the textures, shapes, and colors in as many ways as you can!
Continuous Line
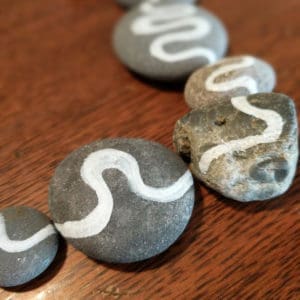
With a marker, crayon, or paint. We created ours with a paint marker, but whatever you have on hand can do the trick. Draw a line (rather a part of one) on your rock and you can rearrange your rocks to create a continuous line.
So calming:
This activity is a bit meditative and sensory activity that grown ups might enjoy as well.
Make Faces
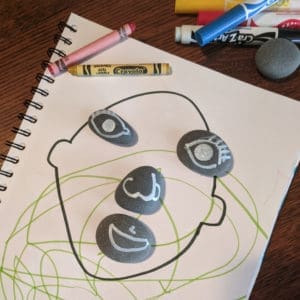
Draw different facial features on rocks: eyes, ears, noses, mouths, and ears. You can create different faces and expressions together. Layer these facial features over drawings or add other materials for hair, clothes and more.
Level up:
You can evolve this into a more structured game if you want and create a set to play with dice, look for some inspiration here.
Make your own rocks
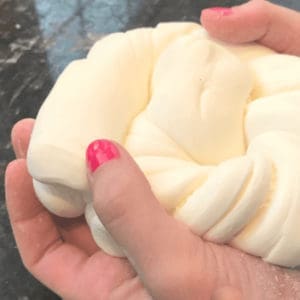
Perhaps you don’t want to sacrifice those rocks or are looking for a flat surface that’s easy for little hands to draw or paint on. You can make your own air dry clay to create any of these projects. The recipe includes: baking soda, corn starch, and water and needs a little cooking time before you have a smooth and soft ‘clay’ to shape. They dry in 36-48 hours depending on the size and thickness of your creation.
Tinfoil!
This staple for grilling is a flashy and exciting material to add to your art arsenal! This flexible and tactile material can be used to add a little sparkle in your little’s masterpieces!!
Supplies:
- white glue /glue sticks
- markers or paint
- paintbrushes 9
- shampoo (portion in a squeeze bottle)
- scissors
- cardstock or cereal boxes
- yarn
- paper or envelopes
Flashy drawing surface
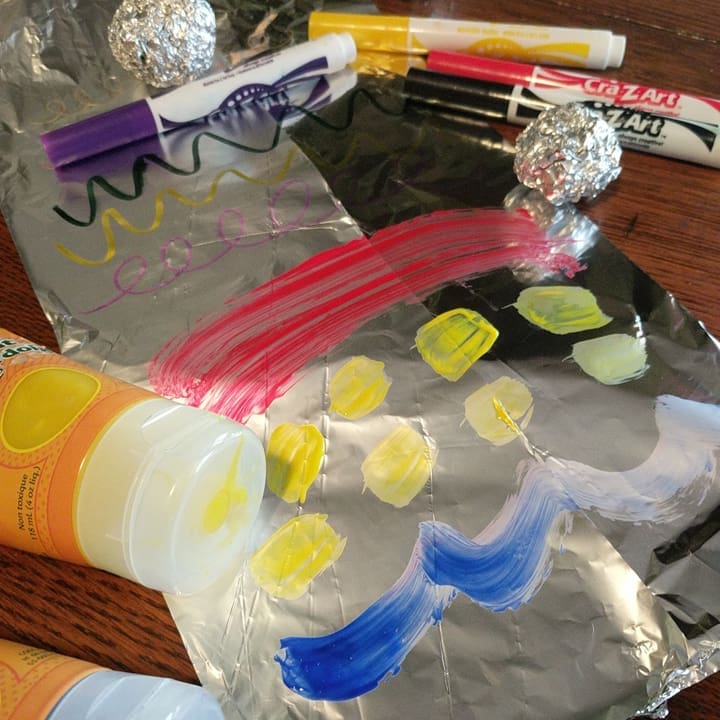
Make drawing time really shine by simply swapping out tin foil for your paper. You can tape it down or wrap it around a sheet pan for a mobile canvas.
Level up:
Make a big painting surface, wipe down a table with a damp cloth and the tin foil will stick in place!
Explore! Test how markers look on the shiny or matte sides of the foil. You can use a paper towel, washcloth or cotton balls to erase the marker and ta-dah, It’s a DIY markerboard!
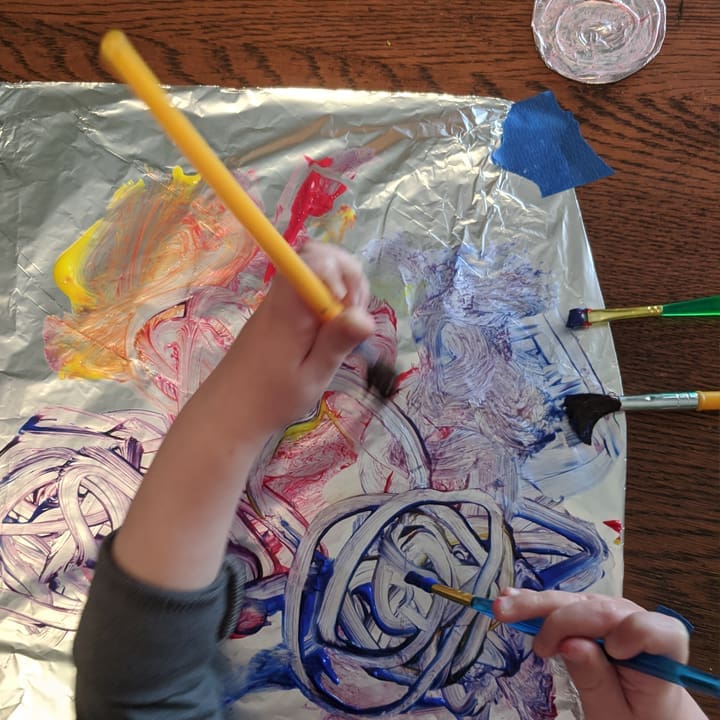
Paint and print
Painting on this shiny and smooth surface is downright meditative. Finger painting is a great, albeit messy, sensory experience. Extend the life of the paint and add some shampoo (the cheap stuff) in a squeeze bottle. Good for practicing squeezing plus it blends in with the paint nicely to help you ration your art supplies!
Bonus:
Smells nice and makes the paint clean up fun and sudsy, who wants to wash their hair anyway?! Make a print! Capture the color and energy in the painting!! Lay down a piece of paper over a painted area you like, rub the back with a clean hand. Pull the paper off and you have a one of a kind print! Fun for snail mail or maybe turn your vibrant prints into hearts for your window or door! #aworldofhearts
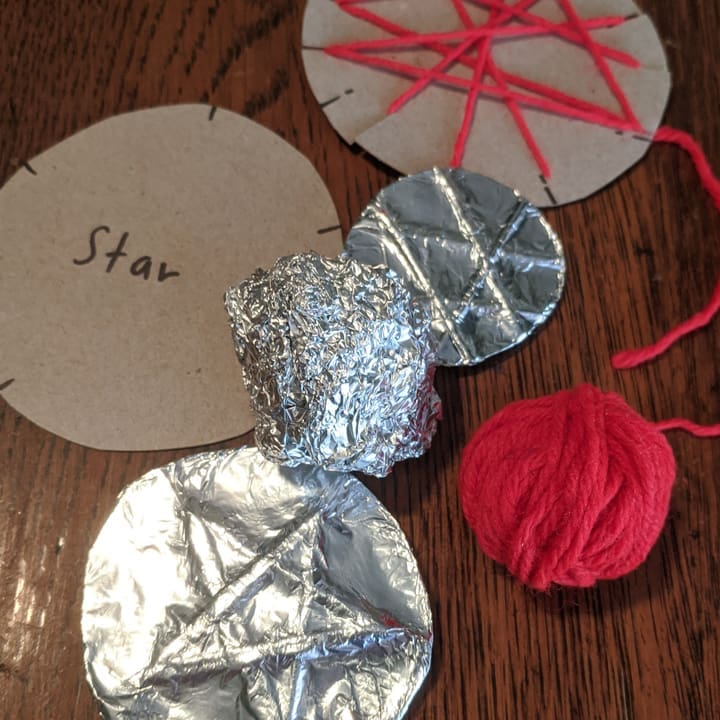
Medallions!
A little more advanced with some sequencing, but a technique you could use to make medallions. Let’s be honest, you deserve an award! You could use this concept to add some flash and dynamic dimension to portraits or line drawings for more seasoned artists 😉
First, wrap cardstock or cereal box material with yarn. See what patterns or shapes you can make! You can tape the yarn to start or simply cut some slits to catch the yarn and hold it in place as you wrap.
Once you’ve got it wrapped just to your liking take a piece of foil bigger than your shape. Cover the foil with glue (a flat layer of white glue works best, you might use a brush or finger or a handy glue stick.)
Wrap your medallion with tin foil and then rub the foil to reveal the shapes underneath. You could use a capped marker or something smooth to burnish the foil in place.
Finally, you can use paint or marker and give your medallion a brushed metal look. Fun for backpack charms, jewelry or pirate treasure!
No worries:
If you tin foil tears or rips, simply add another layer over it and follow the steps again
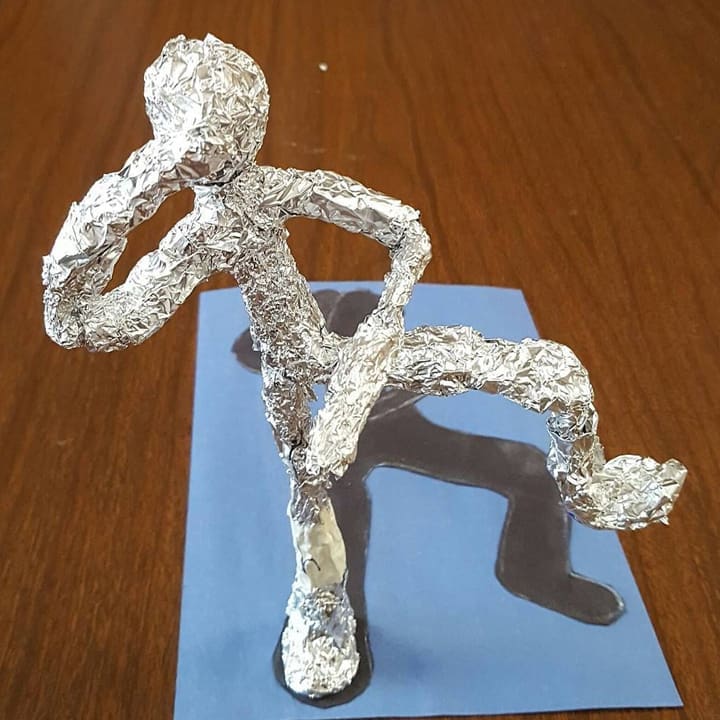
Foil figures
Watch for V is for Vermin in the P is for Plains Art Museum coming out this Friday and learn how to use recycled foil to make little people to decorate your neighborhood!
T-shirts!
Perhaps you have cleared your closet of some t-shirts that no longer spark joy or your little has outgrown their most beloved tee. Here are some possibilities to turn that clothing staple into a new source of inspiration with some creative modification. These projects take some team effort as cutting fabric takes a good sharp scissors. Consider it an artistic collaboration!
Supplies:
- T-shirt (approved for removal for wardrobe rotation)
- Markers (fabric or permanent markers are best, washable markers will smear on skin)
- Scissors (adult pair for cutting fabric
- Painters tape or contact paper
- Paint and brushes (fabric paint or use what you have!)
- Sticks or Chopstick
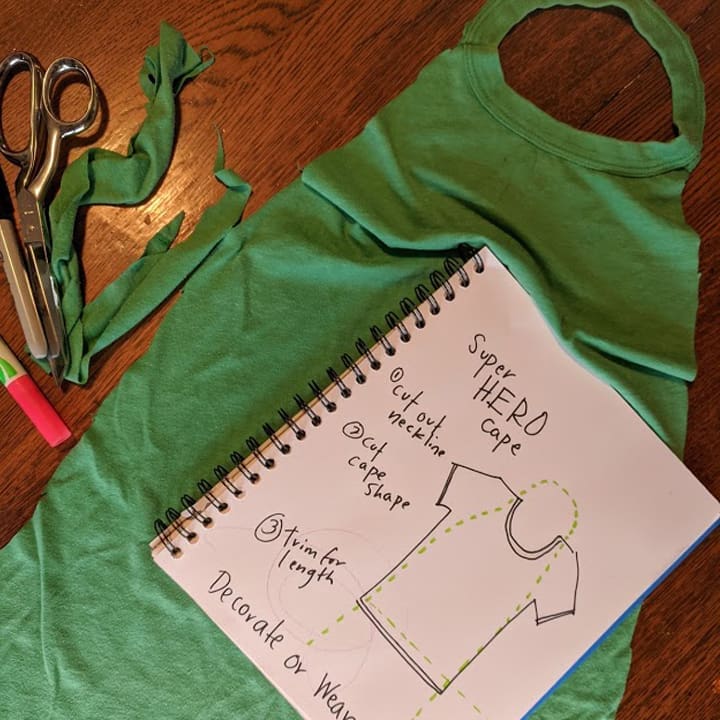
Capes: Because you are super!
Transform a tshirt, by cutting the neckline and cape shape from a shirt and you’re ready to fly. Add some bling with markers, stickers or glue on some fabric patches! If your superhero has some more time you can create stencils with painter’s tape or contact paper and brush on fabric paint. Tape your shirt to cardboard or stuff it in the shirt before you cut it to keep it from shifting around while coloring
Bonus, make an eye mask, cuffs, or headband to complete the superhero ensemble!
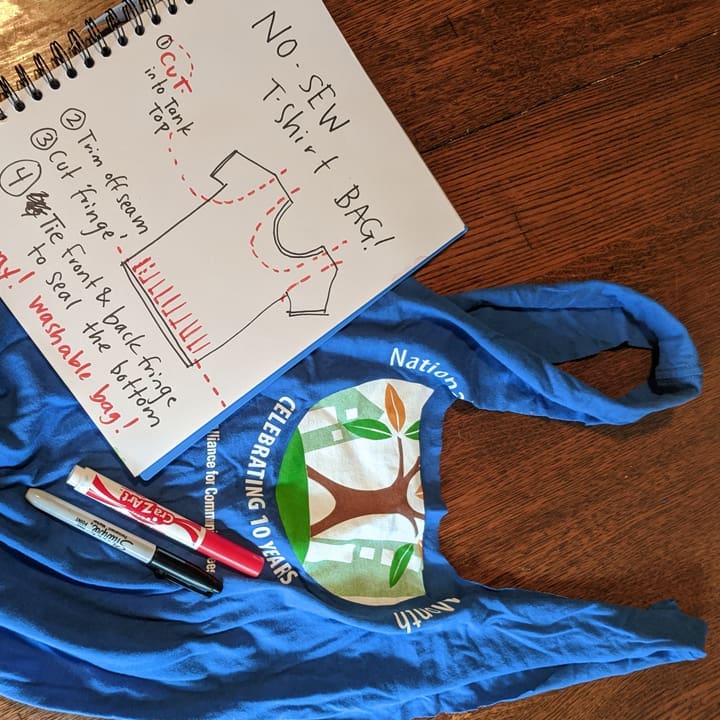
No Sew t-shirt bags
Create a washable bag! Practice tying knots for this simple no sew project. Draw the pattern on the shirt or cut free hand. Essentially you are turning your t-shirt into a tank top, and joining the waist line hem together.
What will your washable bag carry? nature finds, books, snacks for a walk?
Flags, ribbon wand
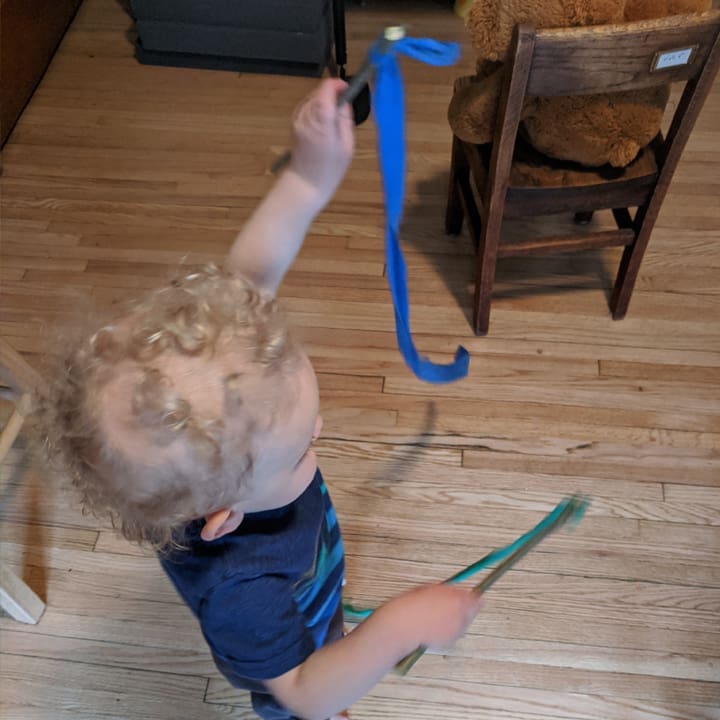
Turn that neighborhood walk into a more festive experience with your own flag or ribbon wand. Decorate the fabric with marker or paint. Again, you can use a stencil and paint technique. Tie or glue onto a stick/chopstick/pencil and proudly wave!
Colorful flags could be used to add some flair to a pot of flowers or garden marker!
Garland
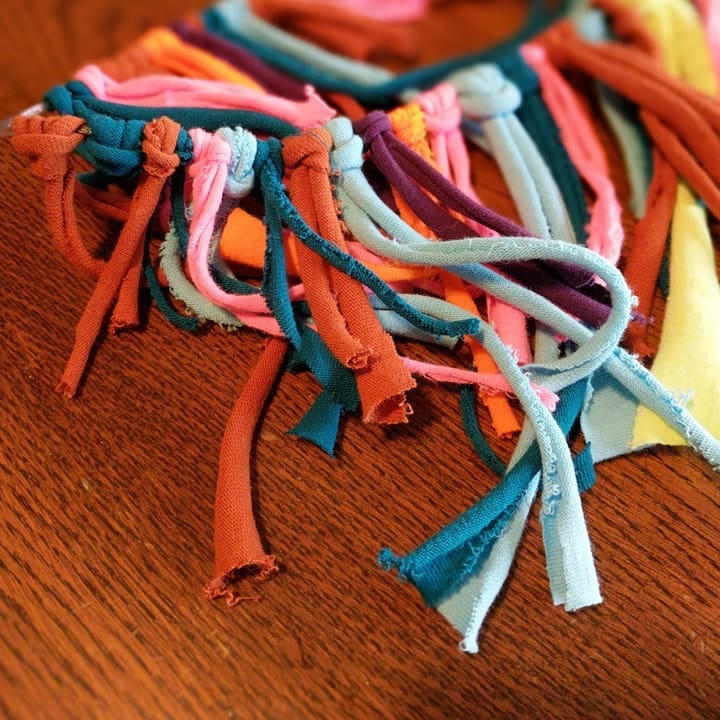
Waste not want not! Rip or cut the scraps of your t-shirt remnants to make your own garland. Tie, or loop on the remnants into a decorative garland. Make a pattern with the colors or choose at random!
What else can you turn a t-shirt into? Jewelry? puppets? Rugs? Scarves? Dust rags? We hope you are able to repurpose it into something new that may spark joy 😉
Cornstarch!
So that container of cornstarch that lurks in your pantry…what recipe did you last use it for? No judgment, but this often-overlooked kitchen staple can do a lot of things: Like firm up a pie or soak up excess oils in your hair! So it’s used to being versatile! Cornstarch can provide a number of different sensory materials and textures. Here are a few #toddlertested recipes to explore! Happy Creating!
Supplies:
- Cornstarch
- Food Coloring
- Hair conditioner
- Markers, crayons, paint
- Brushes
- Spray bottle
- Vinegar and baking soda
Chalk recipes
A sunny day staple is chalk! If you want to add some variety-mix up your own chalk to paint! Your little can dribble, squirt, or spray for some beautiful saturated colors and textures.
Easy peasy-iest chalk paint
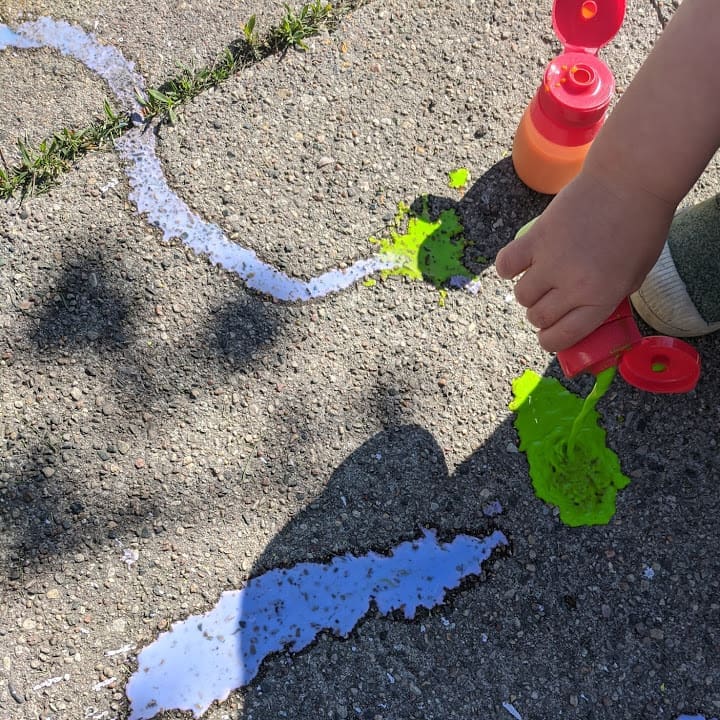
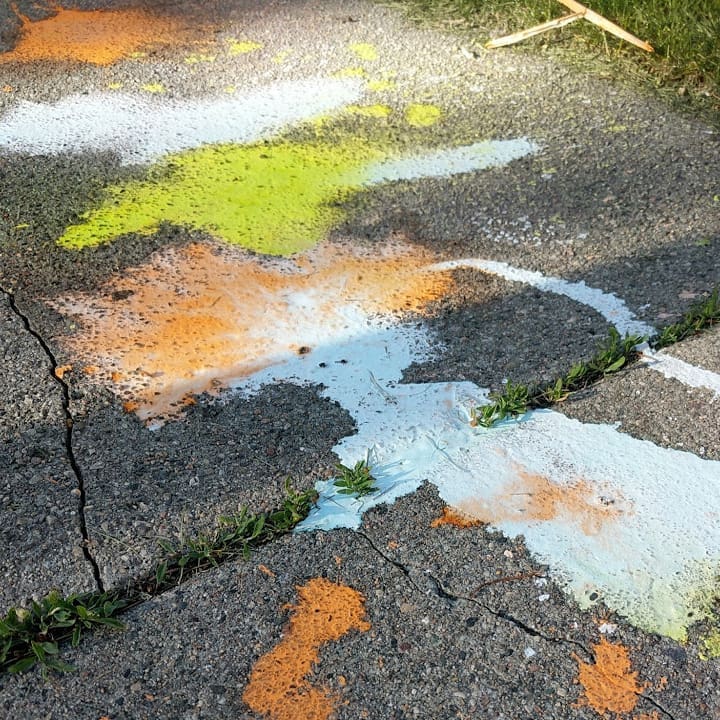
Equal parts cornstarch & water (start with less water and work to the consistency you like) and then stir in food coloring. Presto, chalk paint! This paint can go quickly, so explore how many different ways you can apply it to extend your playtime! For practicing fine motor skills; squeeze bottles and a spray bottle of water can go a long way. To control the flow of paint, cover a bottle with plastic wrap, and pierce a hole in it before putting the cap on. To be far, squeezing it out in one giant puddle is fascinating too! (Raid your recycling for soap, mustard, shampoo bottles, all would work!) You might find the pigments in the food coloring change dramatically when they dry!
Fuzzy Chalk Paint
Add a little chemical reaction for some excitement. Mix equal parts baking soda and cornstarch and mix in water. portion out different colored paint into a muffin tin for painting or squeeze bottles. Apply chalk as you see fit. This paint can settle the solids and get more ‘goopy’, so you may have to shake or stir to keep mixed. What shapes can you make? What from nature might inspire you? Once you have some color down. Spray or dribble on Vinegar to bubble up your drawing.
*Consider testing your chalk for staining on your sidewalk before committing to that big mural. Some surfaces are more porous than others, and thus prone to staining.
Cloud dough
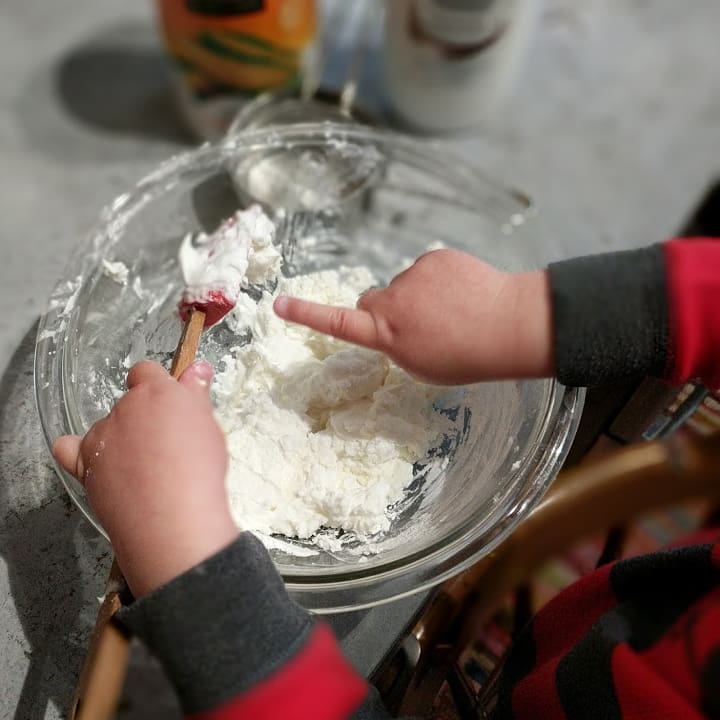
Stretch, squish and roll this simple dough recipe! You can find a lot of slime recipes with corn starch, but this one cleans up pretty easily from clothes and tables. Measure a 2 to 1 ratio of cornstarch to hair conditioner. Start with 1 cup of corn starch and ½ cup conditioner. Mix in a bowl with a spatula and then knead into a ball. Knead in more cornstarch if it’s too sticky. Scented conditioner makes this squishy cloud extra delightful. Store for sensory fun later!
Air Dry Clay
Air dry clay is a fun material to explore, smoother than Playdough, and can make fairly detailed shapes! Find the recipe and instructions here.
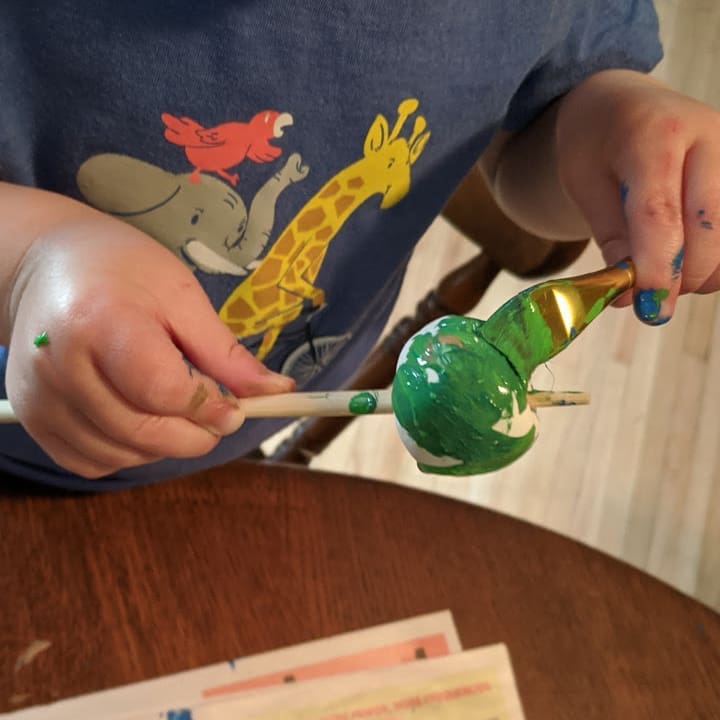
This involves some sequencing and can make for some rainy day fun. Cooking the clay, shaping the clay waiting a day or two for it to dry, depending on the thickness, and then decorating it! This cornstarch and baking soda recipe make a beautifully smooth and white surface. When dry, you can color with crayons, markers, or paint. The clay is quite durable and can handle some tumbles and adventures. It’s lightweight and could be turned into some beads, animal figures, or pendants! Beads are a fun one, as they are great to practice threading, not just helpful for dress up! Chopsticks or pencils can work great to make a hole in a bead that little hands can thread with a pipe cleaner or shoelace. Plus, you can use them to hold the beads in place when you paint them to keep your hands minimally dirty.